HostGator comes highly recommended for its unlimited bandwidth options and the ability to host an unlimited number of domains on most of its plans.That said, having evaluated the breadth of options available, if you’ve decided that BlueHost is a better option for running your digital assets online, then you’re in the right place.
BlueHost is world renowned host with over 2 million websites, blogs and digital assets and has over the last year, maintained uptimes of atleast 99.9% and so, you can rest assured that you’re transferring your assets to a reliable host.
While there are a few steps to follow, you should be fine as it’s a fairly straightforward process between you and your objective of pointing your name servers from HostGator to BlueHost.
Guidelines for transfer from HostGator to BlueHost
- When moving your site to a new host, change the name servers to the new host before transfer
- For domains ending in .nl, .com.br and .net.br, we need to request authorization codes directly from the domain registry. For .nl, codes are typically sent within a week. For .com.br and .net.br, they are sent within 72 hours
- The first registration date of your domain name is more than 60 days ago.
- Once you initiate the transfer, there is a waiting period of five days. During this period, you will receive an email to confirm or cancel the transfer. After confirmation, the domain will be transferred within five days.
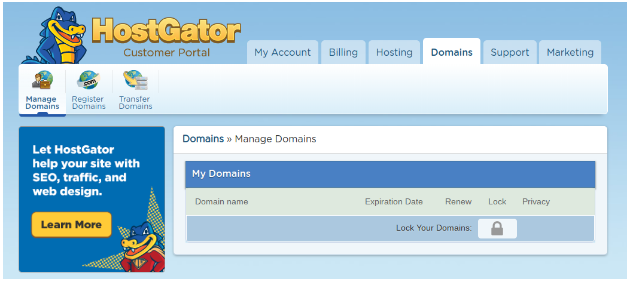
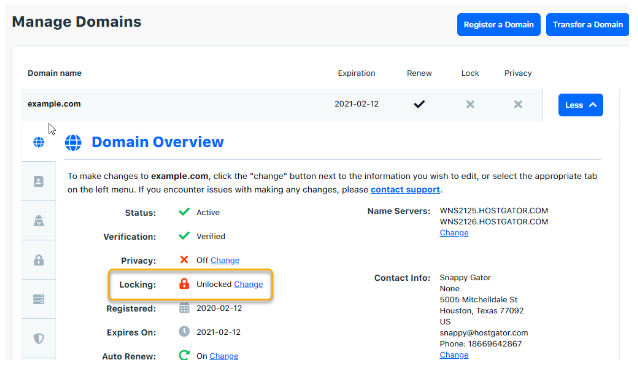
- Your domain will need to be unlocked and privacy removed (if applicable) for the transfer.

After that you should confirm your Contact Information as your email address (which is on your data list) will be used to send you authorization codes that will enable a smooth transition. This process should also remove any WhoisGuard Protection you might have for your domain for the same purpose.
To remove WhoisGuard and update your contact information for HostGator to BlueHost transfer:
- Log into your NameCheap Manage Domains section.
- Click on the domain name you wish to be transferred.
- The Modify Domain screen will appear. If your WhoisGuard status is Enabled, click on the Disable WhoisGuard link.
- The Disable WhoisGuard screen will appear. Click the check-box for Disable WhoisGuard protection.
- In the Administrative Contact section, update your admin email address, if required, and then click Save Changes at the bottom.
The section below is a detailed guide to the process.
How To Transfer Your Domain From HostGator to BlueHost
- Click the Domain name to highlight it. The right side will populate with different tabs.
- Unlock the domain on the LOCK tab.
- Turn off Privacy Protection on the PRIVACY tab if present.

- (OPTIONAL) Modify the name servers to point to the new name servers in the NAME SERVERS tab.*Note: Do not do this unless you have already moved your site to our servers because you won’t be able to edit the name server settings during the transfer process.
- Get the EPP/Authorization Code from the TRANSFER EPP tab
- Make certain the contact info is up-to-date with the correct email address on the CONTACTS TAB, for Registrant, Admin, and Billing.
- A verification code should be sent to your email
- Enter the verification code to confirm the 2FA process
- Check the terms of service and add to cart
- Make the payment to initiate the transfer from HostGator to BlueHost
Conclusion
Transferring your digital assets can become a highly complex and mind-numbing process when you follow a flawed process. Make sure to consult BlueHost customer support whenever you have any issues.
Usually, a guide such as this one or others available on other blogs has enough information but should you require more clarification. A simple email to the BlueHost customer support team is a viable option for you.
If you’re currently hosting your digital assets on Namecheap and need a simple guide to a BlueHost domain transfer, click here.

